
Ello!
I'm back with another post! I have another recreation of one of my first designs for The Nail Challenge Collaborative.
Onto the nails!

It's kind of funny how your "taste" changes as you blog more/age/whatever because I would not wear these nails nowadays haha.

Here's what I used:

I used the same neon yellow as I did in my original post even though the polish was basically a ball of goop on the end of the brush.....I've only had it for a little over a year, how does that even happen? Thinner saved it a bit but it's still tough to work with.

These nails started with 2 coats of White On which I let dry for a bit. Then using a make-up sponge, I sponged on the gradient. The studs were placed on while the polish was still wet. These probably took less than 10 minutes!

Here's a comparison:
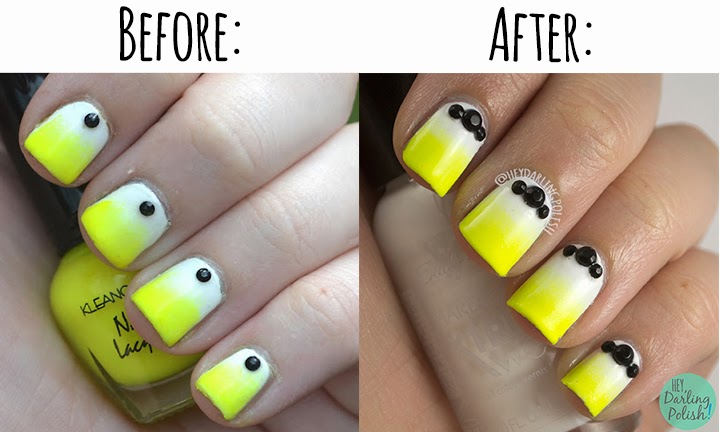
I still haven't figured out where I saw the original design from but there really wasn't much to improve on design wise for these nails so I just added more studs. My nails and cuticles look so much better though! I'll admit that my nail care routine is pretty lacking and I normally forget to put anything on my cuticles but they still look healthier. These posts keep making me really happy haha!
Thanks for reading guys!
-Marisa! (:
Love seeing the before and after pictures! I like this design a lot. The white and yellow gradient is lovely and I like the addition of more studs too.
ReplyDeleteThank you! I'm enjoying the before and after pictures too, they're a confidence booster (:
ReplyDeleteThank you!! I like the new one better too (:
ReplyDeleteI love the stud placement on the new one.
ReplyDeleteThanks! (:
ReplyDeleteAh, the older, more sophisticated cousin has arrived. :)
ReplyDeleteHaha yes she has! (:
ReplyDelete